
Gigmor Live: Getting Started in Twitch and OBS
You might ask yourself, “Why should I stream on Twitch? I can already stream on Instagram, Facebook, whatever else, using my phone and it looks good?” The most important answer is that you can actually make money on Twitch. It was designed to allow streamers to make money from their audience through Donations, Subscriptions, etc. Not only that, but the Twitch audience is looking for live content and they want to support streamers.
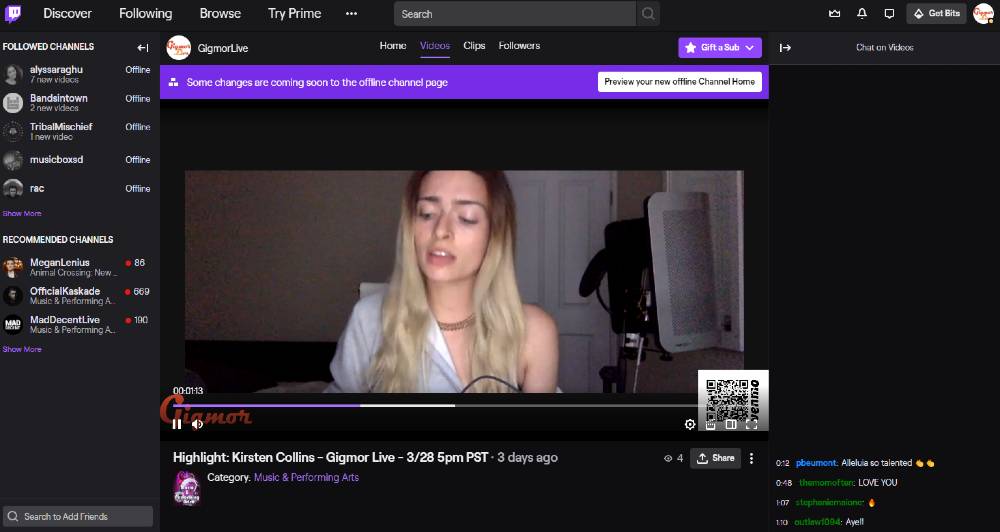
Live music on Twitch is relatively new and growing everyday. We have our own Twitch channel and you can apply to play one of our streams here. Reading this post will help you prepare for a stream with us and will give you everything you need to start your own channel.
How to start streaming
First thing to do is sign up for a Twitch account on https://www.Twitch.tv. Congrats, you now have a Twitch channel! You do not actually stream directly from your browser into your Twitch channel – you need another piece of software to do that.
There are many options when it comes to broadcasting software but we recommend Open Broadcaster Software (AKA: OBS)
OBS is open source (101% free) and Mac, Windows & Linux compatible. Download OBS from the link above. Here is the OBS dashboard:
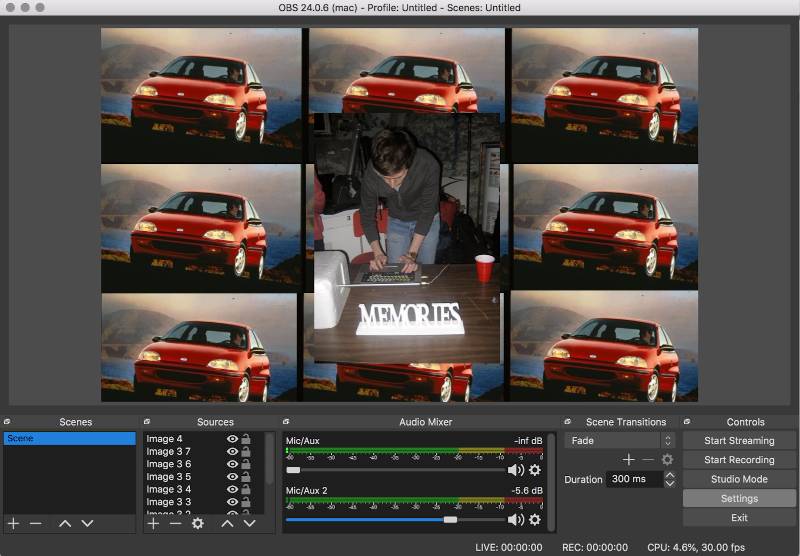
Yours will look different because you won’t have the killer Geo Metro mosaic background but generally the same. Click Settings in the bottom right corner and then click Stream in the vertical menu on the left.
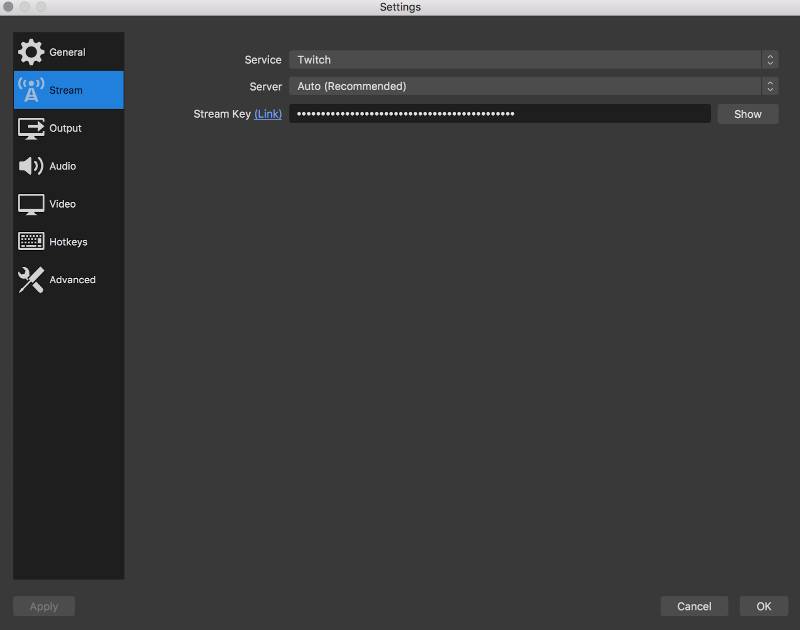
For service, select Twitch, keep Server on Auto and then enter your Twitch Stream Key on the Stream Key line…What is your stream key? The stream key is the private password to broadcast on your Twitch channel. Your Twitch stream key will be located here:
https://dashboard.twitch.tv/u/YOURTWITCHUSERNAME/settings/channel
And the page will look like this:
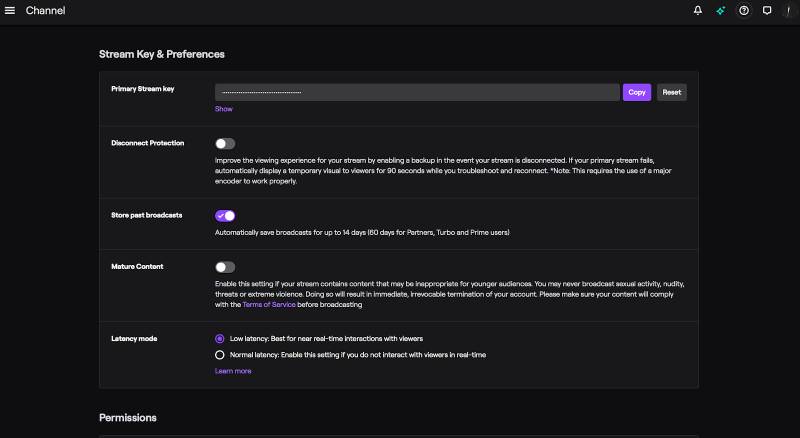
THAT is your stream key.
You enter that key on this page in your OBS:
Once you click Start Streaming on the OBS dashboard YOU ARE LIVE. It immediately starts broadcasting.
But what, exactly, is it broadcasting?
To set up your first stream in OBS do this:
Click the “+” sign in the sources section of your OBS dashboard and select Video Capture Device. Title it “Webcam” or whatever you want and make sure the check box next to Make source visible is checked and then click OK.

On the next screen, click the drop down menu next to Device and select your camera.

Once you do that and click OK, you should see your camera feed on the OBS dashboard.
OBS should have defaulted to include your built in microphone as the audio source, but in case it did not, follow the same instructions for adding a camera but choose “Audio Input Capture” instead.
Once you have all that set up, you are ready to stream.
If you have other questions about audio/video configuration on OBS, please consult the OBS Wiki here: https://obsproject.com/wiki/
Requirements:
High tolerance for technical frustration (first for a reason)
New-ish computer
Ethernet (recommend 25 mbps download and upload)
Broadcaster software (OBS)
Webcam and Mic
Highly Recommended:
High tolerance for technical frustration (again, first for a reason)
Video rendering beast PC
Gigabit Ethernet
Killer Mic/Camera
If you are on a Mac, depending on your audio setup, you may need to download this program:
iShowU Audio Capture: https://support.shinywhitebox.com/hc/en-us/articles/360030800592-Install-iShowU-Audio-Capture-Mojave-Catalina
iShowU will allow you to pump audio from anywhere on your computer into your stream. For example, if I’m DJing using an app on my computer, I can route the audio from my DJ app through iShowU and ultimately into OBS.
Finally, here are some basic gear recommendations to get started:
Webcams: Logitech Brio, Razer Kiyo, Logitech C920
Webcams are sold out almost everywhere right now, including Amazon, and used prices on eBay are out of control. Best Buy, Office Depot/Max, Staples and other retailers might have stock.
If you already have a DSLR or similar kind of camera, there are ways to use these cameras as a webcam. It’s probably best to check Google for information on your specific camera but you can check out this guide as well: https://www.video-stitch.com/how-to-use-dslr-as-webcam/
USB mics: Blue Yeti (Any model but Blue Yeti X or standard are preferred), AT2020 usb OR any mics + usb audio interface.
Ethernet accessories: Ethernet expanders, Ethernet cables, Apple Ethernet/USB adapter, USB C Hub
Ethernet is almost essential but if you’re on a newer Apple laptop, you most likely don’t have an ethernet port (or any ports, for that matter). You’ll need a USB to ethernet adapter. Apple’s works well with probably the least set up required but other options are cheaper and most likely perform just fine.