Welcome to Gigmor Jams!
I can’t tell you how excited we are to announce the launch of Gigmor Jams – an easy way to manage your jam sessions, rehearsals, workshops and auditions within the Gigmor platform.
This is the first step in creating a best-in-class set of band management tools that will help you take your career to the next level!
To start, we’re going to launch in beta in the Los Angeles market. During this 3-4 week period, we’re going to put Gigmor Jams through its paces and fine tune it based on member feedback so we can make sure everyone has a first class experience when we launch it nationally in the U.S. and Canada.
Since this is a new piece of functionality, I wanted to provide a quick “How To Create A Jam” for everyone’s easy reference. It really is super simple – whether you’re creating a Jam on your desktop/laptop or mobile device. It even comes with pictures!
FYI – we’re working on a mobile app so we totally appreciate your patience. It’s coming, we promise!
How To Create A Jam
Log into Gigmor – told you it was easy!
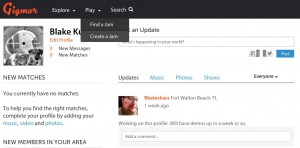
Click ‘Play’ on the Gigmor toolbar at the top.
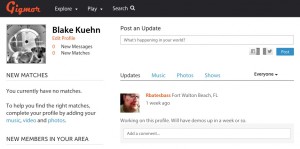
Select ‘Create a Jam.’
Complete Your Host Profile.
- The information will be auto-filled from your Gigmor profile but this is your chance to make sure your profile is complete and up to date. Make sure you’ve posted some music!
Hit ‘Continue’ at the bottom of the page.
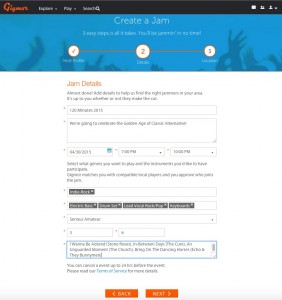
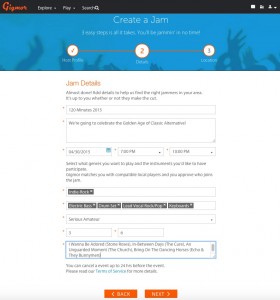
Jam Details
You’re halfway home. Once you’re done, hit ‘Next’ at the bottom.
Fill out your ‘Location Details.’
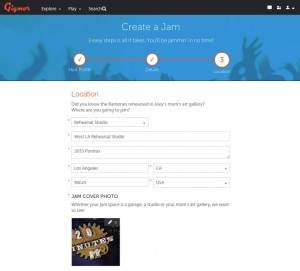
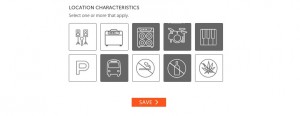
Add in some “Location Characteristics.” In other words, include the information that you feel is important for having a successful Jam. In my case, I’ll provide the PA, the guitar amp – there is parking at the rehearsal studio – and if you like to smoke whatever, I don’t care, but I have sensitive lungs so I prefer to jam without hacking up a lung.
Hit ‘Save’ at the bottom when you’re done.
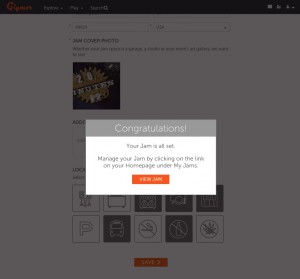
Boom – you’re done!
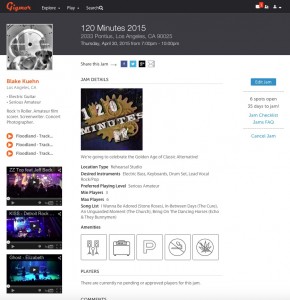
Have fun and if you have any questions or comments, hit us up at jams@gigmor.com!
Create A Jam Now!
Jam on!
Team Gigmor


